Jasper Compatible Dovetail Mount Installation
Read on to learn how to install our products on your Jasper or Duchess Gaming Tables.
------------------
Links to our guides on installing your Dice Trays Or your Under Table Storage Mounts
------------------
How to Install your Cup Holder Mounts and Side Shelf Mounts.
There are a few things to know before you begin installation of your mounts onto your table:
- Hardware is included with your mount(s)
- A #2 Phillips screw driver is the only tool needed for installation (a cordless drill is not recommended for Cup/Side Shelf Mount installation)
- If you're installing onto a Jasper or Duchess table, pre-drilling holes for the mounting hardware is unnecessary
- Perform a quick fit check before installing your mounts - some Jasper accessories have a small burr in their dovetail groove from manufacturing, which may need to be sanded down
- After installation is completed, you may recycle your Alignment tool, if desired
We've created an installation video for the Cup Holder mounts. For the Side Shelf Mounts, there is a revised, detailed procedure below. This is a living installation guide, and is being updated as we receive additional feedback.
Note that all orders that include mounts will ship with an Alignment tool.
Side Shelf Mount Installation Procedure
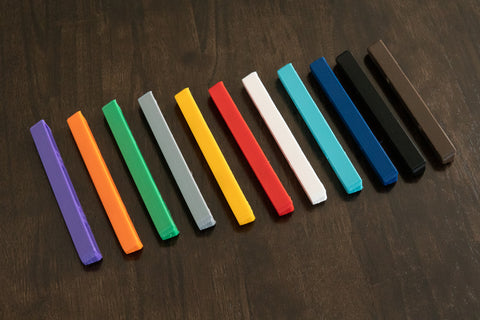
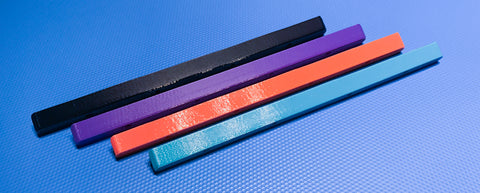
Here is the hardware that will be included with your Side Shelf Mount. 4 screws per mount, and 1 Alignment tool per order (Alignment tool may not match the color of your mounts).

The order you install the screws attaching your Side Shelf Mount is very important. You should install the screws starting with the side closest to your tables leg (so either left to right, or right to left depending on which side of the table you're working on). In this example, we're installing on the right side of the table, and the screw install order is indicated on the image below:

The Alignment tool included with your order has an arrow indicating which side faces "Up" when installing your mount (pointing towards the arm rest):

The thin edge of the Alignment tool should be pressed up against the edge of the table vault while installing. A quick fit check should be performed:

A bit of upward pressure should be applied to the screws while installing, to get the threads started. If installing onto a Jasper or Duchess table, pre-drilling is not necessary. I find that this grip shown below makes the installation easier, using my thumb to hold the Alignment tool and mount in place, pressed up against the tables' vault:

Tighten each screw until snug as you go before moving the Alignment tool and moving onto the next screw:

After the first screw is snug, move the Alignment tool to the next gap adjascent to the second screw and repeat the procedure, taking care to ensure the Alignment tool is pressed up against the tables' vault:

Repeat the process for the third screw and tighten until snug:


For the fourth and final screw, reverse your grip on the Alignment tool, and install the fourth screw until snug:


Then perform a quick fit check using the Alignment tool between each of the screws:


Then you're all finished! Check that your Cup Holders and Side Shelf fit well on the mount, and move on to the next corner of your table, remembering to work your way from the leg outwards.